

| Buzzard Key Drawings | ||||||||||||
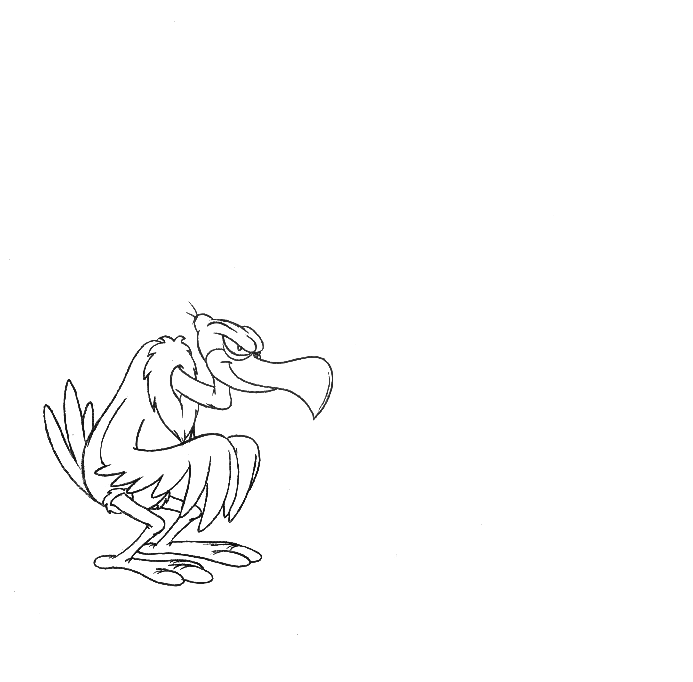
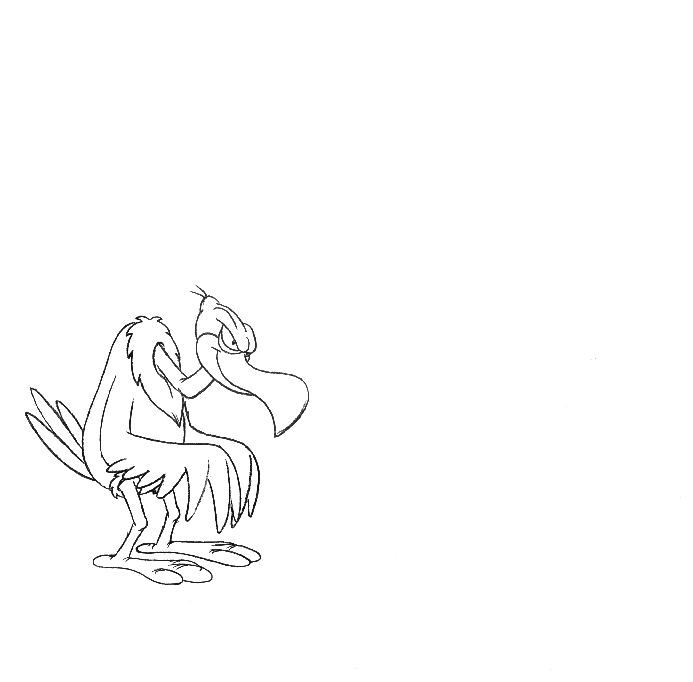
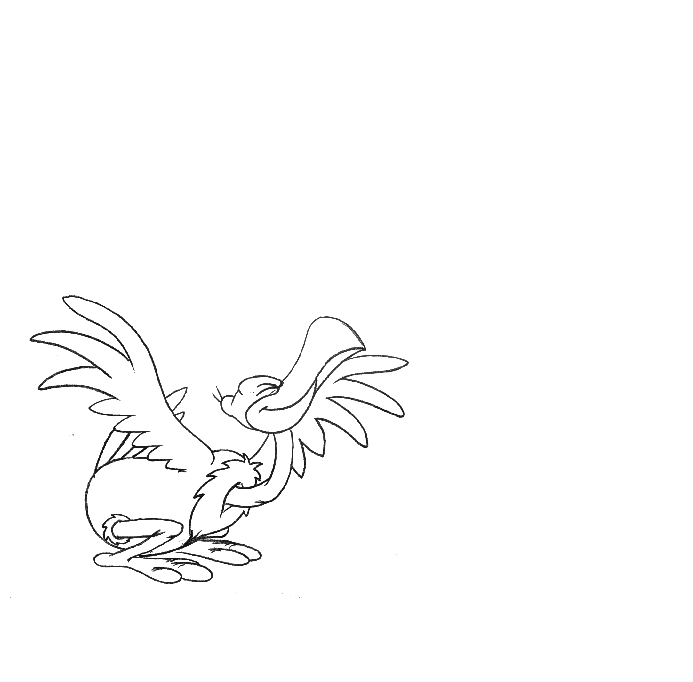
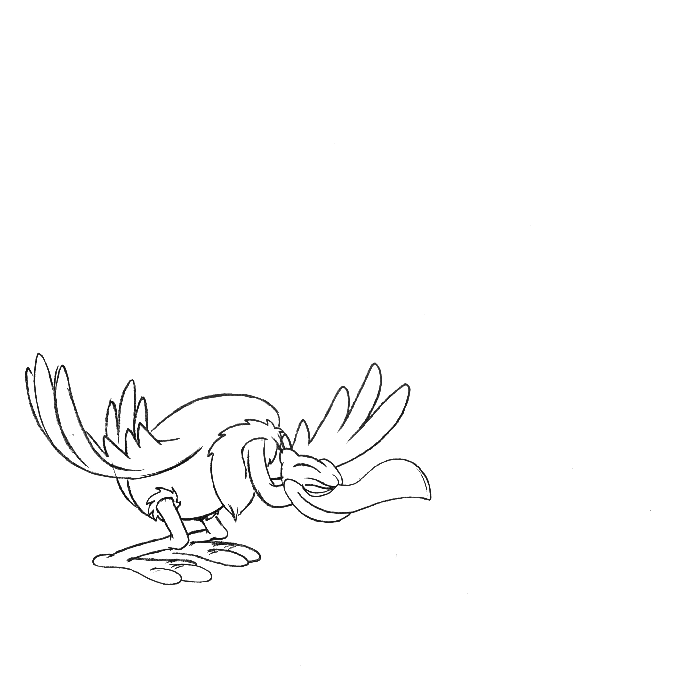
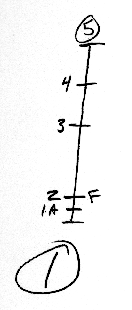
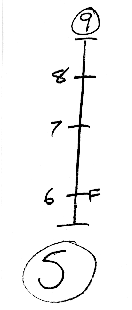
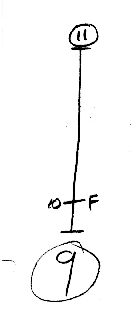
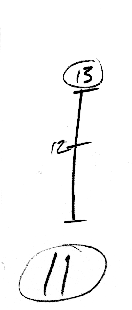
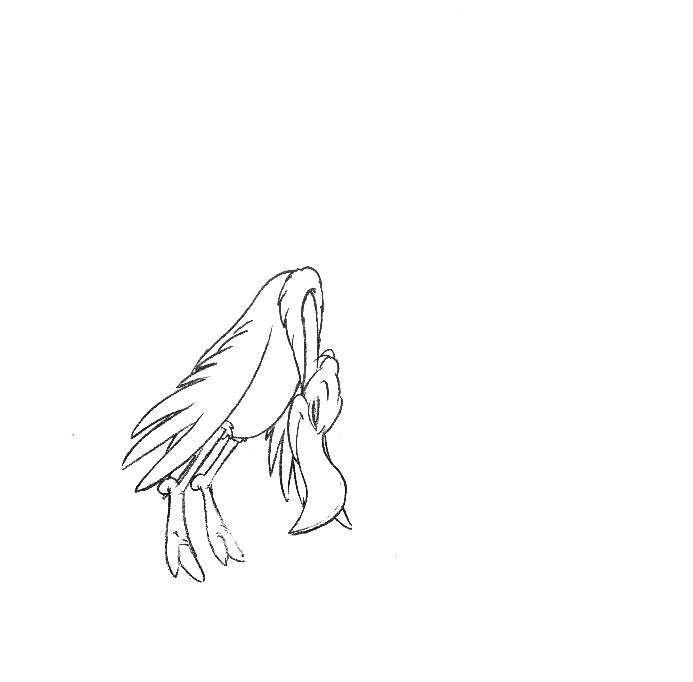
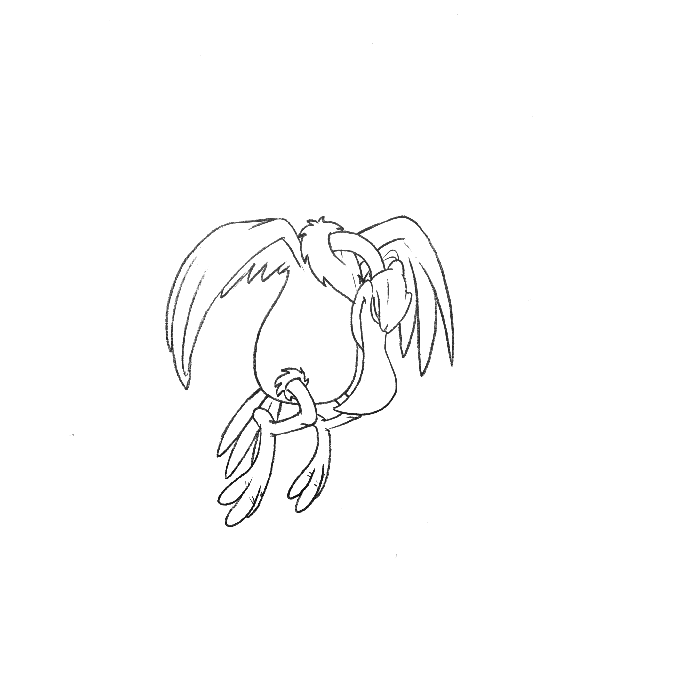
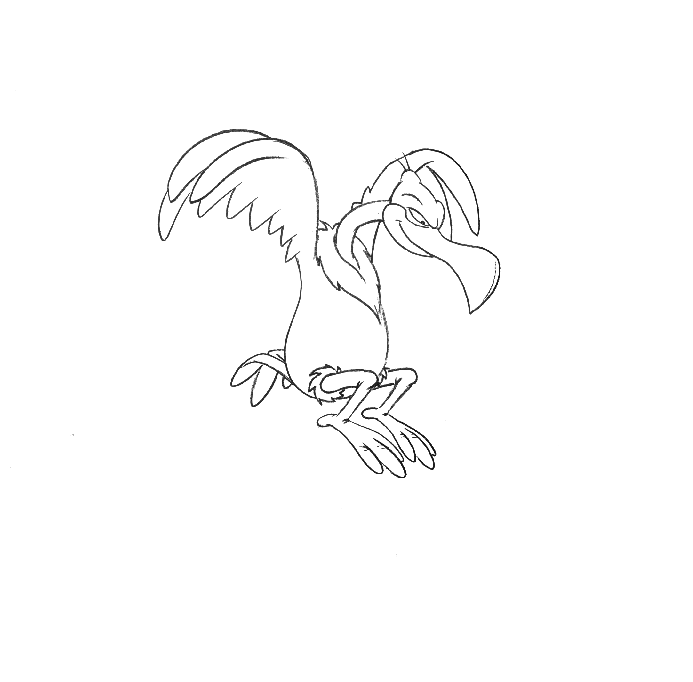
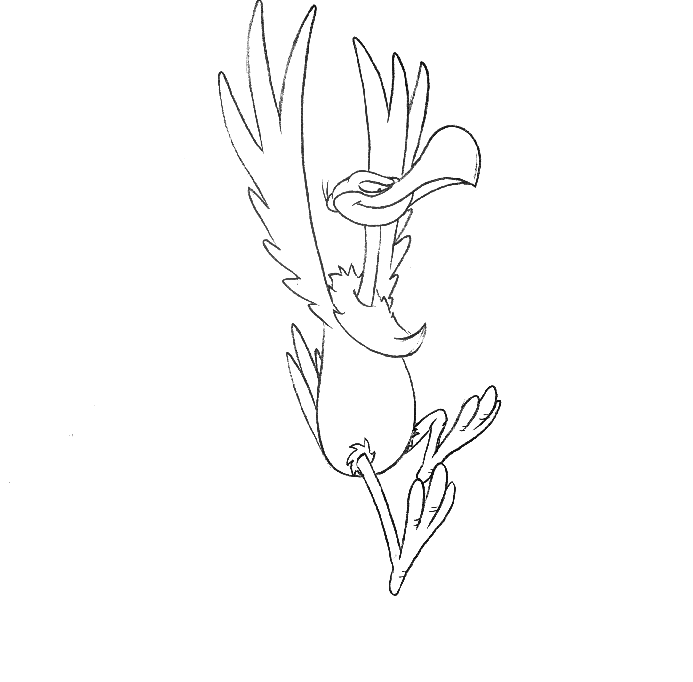
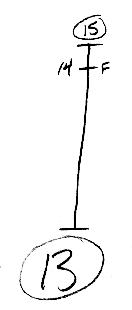
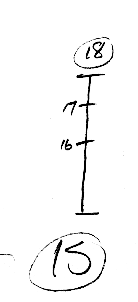
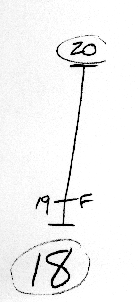
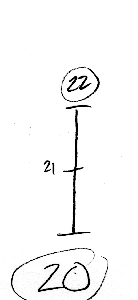
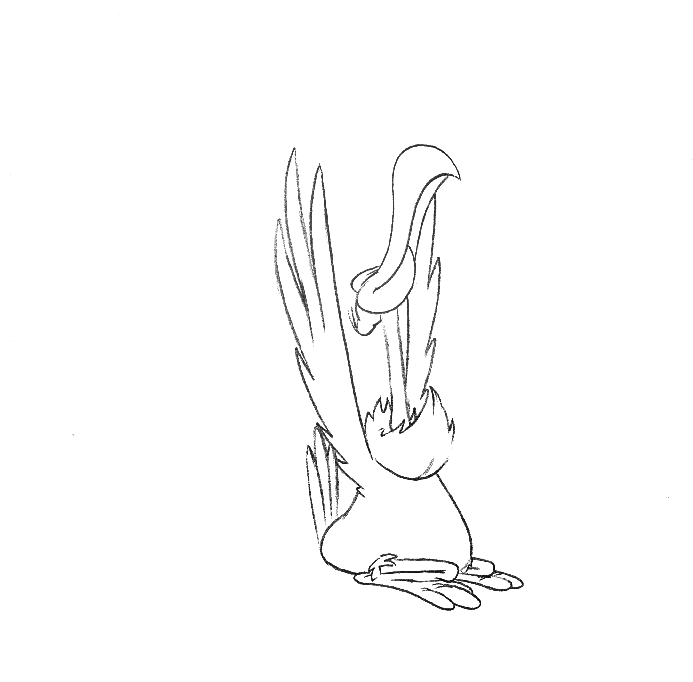
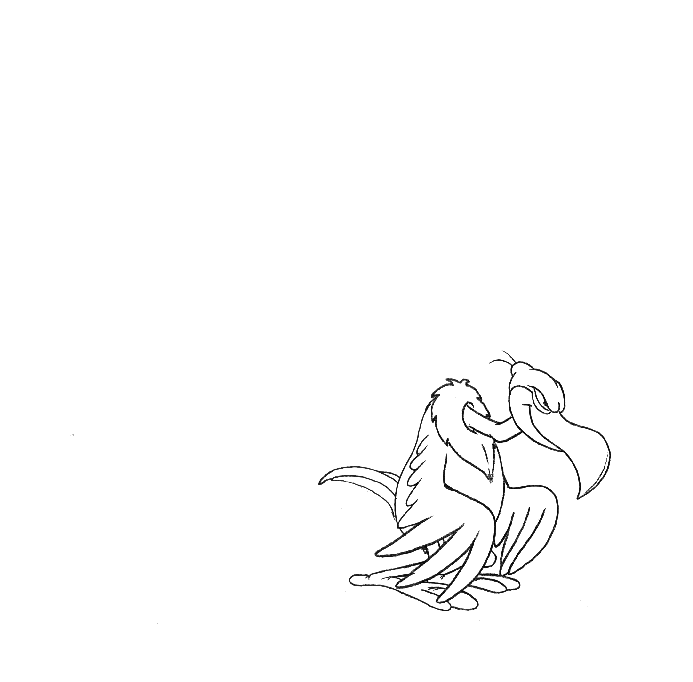
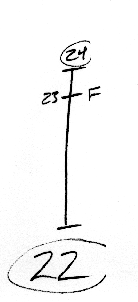
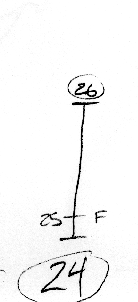
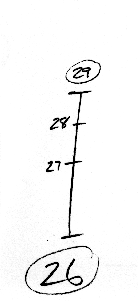
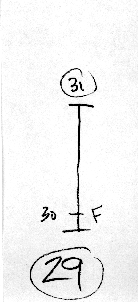
| Here are the 12 key poses for the Buzzard Broad Jump along with the timing charts for each key. | ||||||||||||
|
|
|
|
|||||||||
|
|
|
|
|||||||||
|
|
|
|
|||||||||
|
|
|
|
|||||||||
|
|
|
|
|||||||||
|
|
|
|
|||||||||
| Back to Buzzard Broad Jump | ||||||||||||